This article will go over how to update Zoom on your device. Zoom is frequently updating, and it is a good practice to check for updates every month. In addition to security, keeping Zoom up to date ensures you have access to the latest features. Please allow ample time to update your application. We recommend at minimum a half hour before a scheduled Zoom call.
Launch The Zoom App
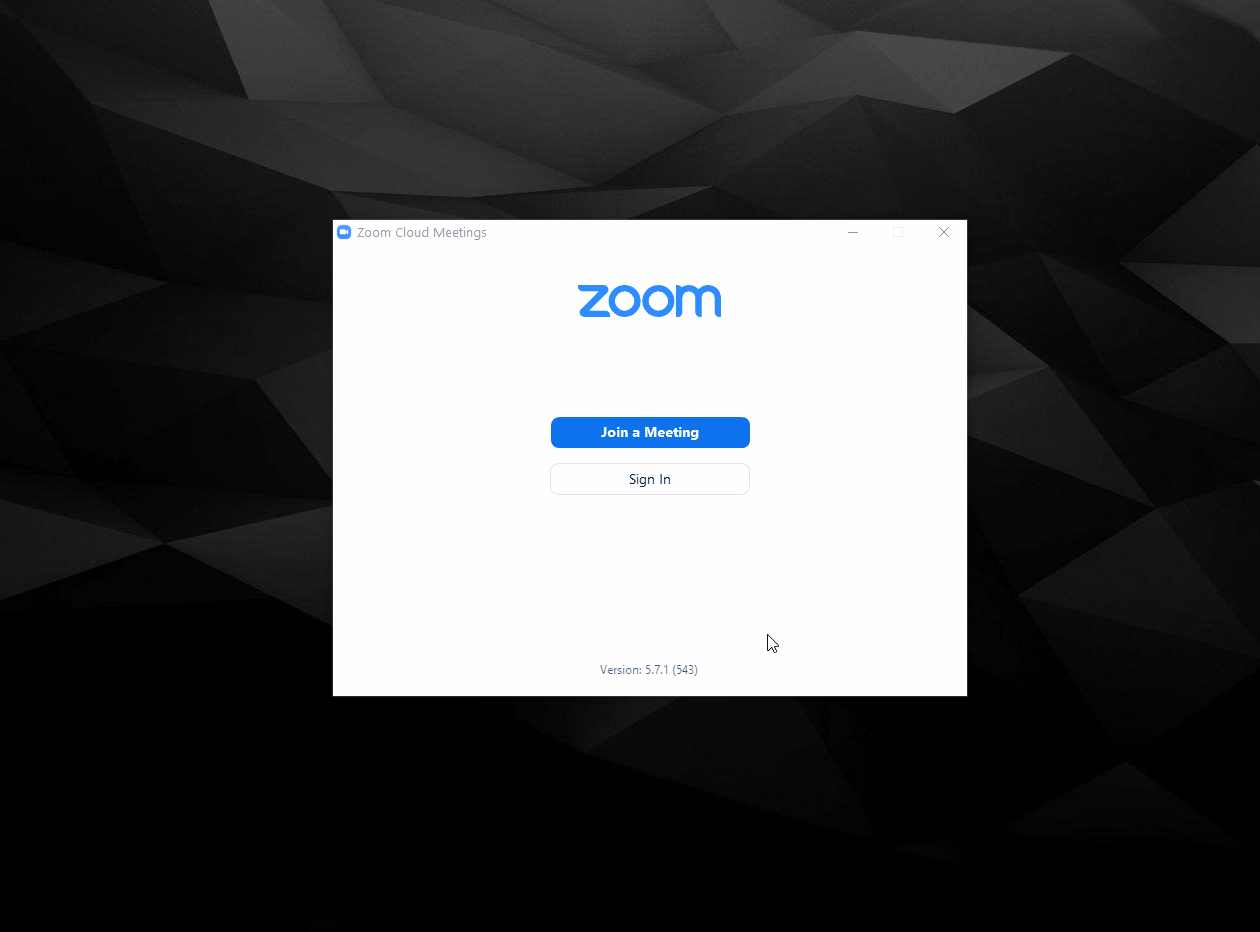
Locate the Zoom Desktop Client in your programs or launchpad and start it. You will see the version history at the bottom. If your version is behind, we can start the update process by selecting “Sign In.“
Sign in via SSO
You will be prompted to sign in and be offered multiple options to do so at this stage. You will select the option Sign in with SSO. It will ask you to confirm the company domain. It should read nyu.zoom.us. If you do not see this, please enter nyu and click continue. You will be brought to the NYU SSO sign-in screen.
Checking for Updates
Once you are logged in, go to the top right and click your profile picture or icon. A drop-down list will appear. Select Check for Updates. Zoom will confirm your application’s availability and update automatically.